

A Guide To Laying Porcelain Paving
Porcelain paving is a stylish, low-maintenance way to create a family-friendly garden space. If you have recently purchased porcelain slabs, or are about to, you might be wondering whether to tackle the installation yourself or hire a professional.
While we always recommend using a skilled installer for the very best finish, it is possible to lay porcelain paving yourself with the right tools and some careful preparation.
This guide will walk you through the process step by step, highlighting the tools, materials and techniques you will need to achieve a smooth, long-lasting result. If you are laying sandstone or limestone instead, our general paving laying guide has you covered.
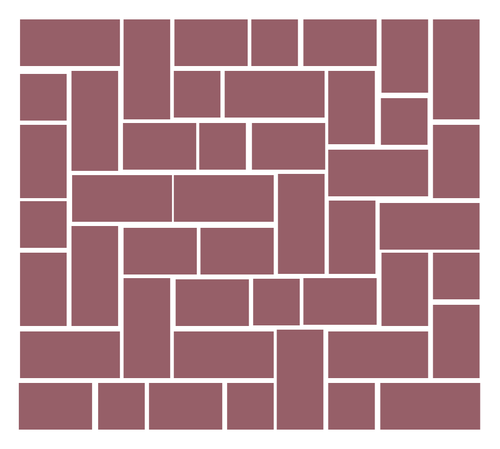
Materials:
- MOT Type 1 sub-base
- Sharp sand
- Cement
- Water
- Priming slurry
- Porcelain paving
Tools:
- Tape measure
- Spirit level
- Rubber mallet
- Trowel
- Bucket
- Mixer
- Disc cutter or table saw with porcelain blade
- Dust mask
- Safety goggles
- Ear defenders
- Wheelbarrow
- Shovel
- Plate compactor
Laying Guide
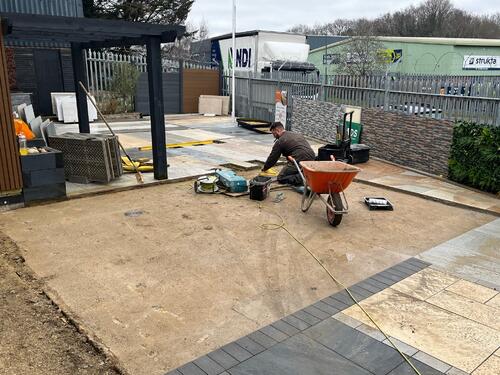
Step 1: Base Preparation
Before laying your porcelain paving, it is important to carefully plan and prepare the installation area.
Start by accurately measuring the space and marking it out with wooden pegs or string lines. Once marked, clear the area of soil, vegetation and roots to create a clean, stable foundation for your paving.
Excavate the area to a depth of around 150 to 200mm where your patio will be laid. Using a spirit level, create a gentle slope to ensure proper drainage, aiming for a 1 in 80 fall towards your nearest drainage point. At this stage, identify your drainage points and install any necessary drainage systems to manage surface water effectively. For most domestic patios, a fall of 1 in 80 is sufficient to prevent pooling.
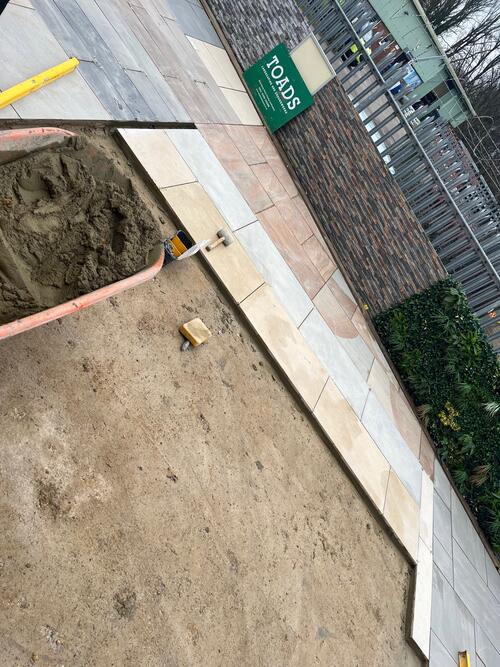
Step 2: Sub-base
Fill the excavated area with a sub-base such as MOT Type 1 to a depth of 100 to 150mm (adjust depending on how deep you dug). Compact the material evenly using a plate compactor or rammer to eliminate gaps and loose areas. If you do not have these tools, you can also compact it manually.
Step 3: Add the mortar bed
Prepare a full bed of workable mortar using a 4:1 sand-to-cement ratio and work it while still semi-wet. Aim for a thickness of 15 to 30mm, following the manufacturer's recommendations. Ensure the bed is level at this stage by checking with a spirit level.
TIP: lay the mortar one slab at a time rather than all at once. This prevents the mortar from drying too quickly and allows you to work at a comfortable pace.
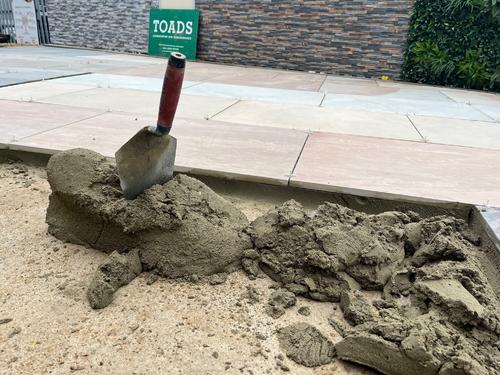
Step 4: Priming the Porcelain
Porcelain is non-porous, which makes it difficult for mortar to adhere. To ensure a strong bond, prime the back of each slab before laying it onto the mortar.
Before placing your first tile, apply the priming slurry to the underside to improve adhesion. It is best to work one slab at a time to prevent the primer from drying out and losing its adhesive strength. Take care not to let the slurry primer mark the face of the slab, as it will not be possible to remove once dried.
We recommend using UltraScape Pro-Prime Paving Slurry Primer for best results.
Step 5: Lay the Porcelain
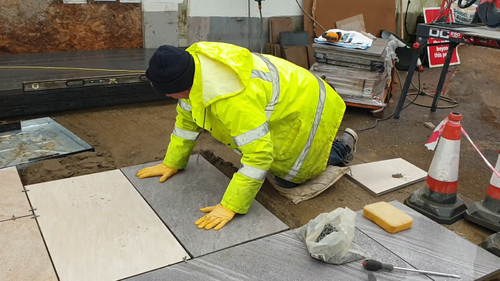
Begin at a corner, set each primed slab in position primer-side down onto the mortar, and gently tap it with a rubber mallet to secure it. Use a spirit level to check each slab is correctly positioned, and make any adjustments immediately, before the mortar begins to set.
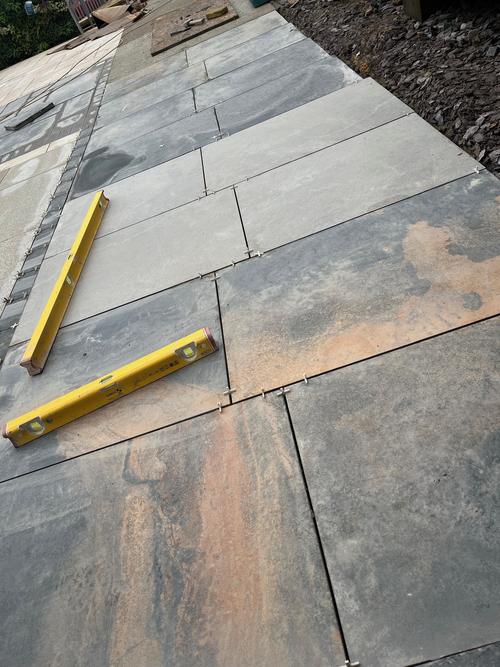
As you lay each porcelain slab, be sure to leave a minimum 5mm joint between them for proper spacing and stability; you can use spacers to make sure the slabs are laid uniformly.
Step 6: Add Jointing
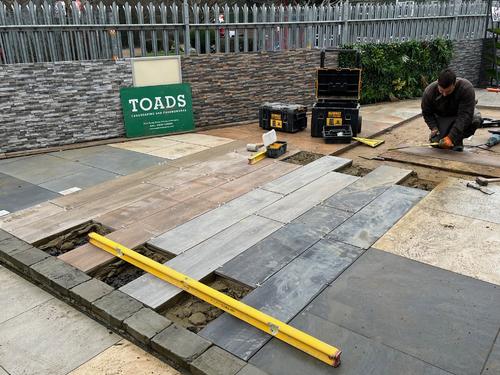
To finish your patio, fill the gaps between the slabs with a jointing compound. This process creates a smooth, stable surface, keeping the slabs securely in place while preventing moss and weeds from growing between them over time. Once complete, simply brush away any excess material.
We recommend a convenient sweep-in option, such as EASYJoint.
Once applied, allow at least 24 hours for the compound to dry and the slabs to fully settle before using your new patio.
Benefits of Porcelain Paving
Many modern homeowners and garden enthusiasts choose porcelain paving slabs for their wide and consistent range of colours and designs. This gives you precise control over the look of your garden, something not possible with natural Indian sandstone. While sandstone offers fewer colour choices and comes with natural variations that create a unique, rustic appearance, porcelain delivers a sleek, uniform finish ideal for contemporary spaces. For a fuller comparison, read our guide to the differences between sandstone and porcelain paving.
One of the biggest advantages of factory-produced porcelain slabs is the high level of quality control during manufacturing. Each slab is engineered for strength, durability and long-lasting performance. Subjected to extreme heat (up to 1400°C) and intense pressure, the slabs are vitrified and rectified to ensure they resist weathering, foot traffic and colour fading for decades.
Since porcelain designs are printed directly onto the slabs, you get a perfectly consistent appearance across your patio. This allows you to achieve a seamless, harmonious look, unlike natural sandstone, where shades and tones naturally vary, sometimes creating visible inconsistencies.
