

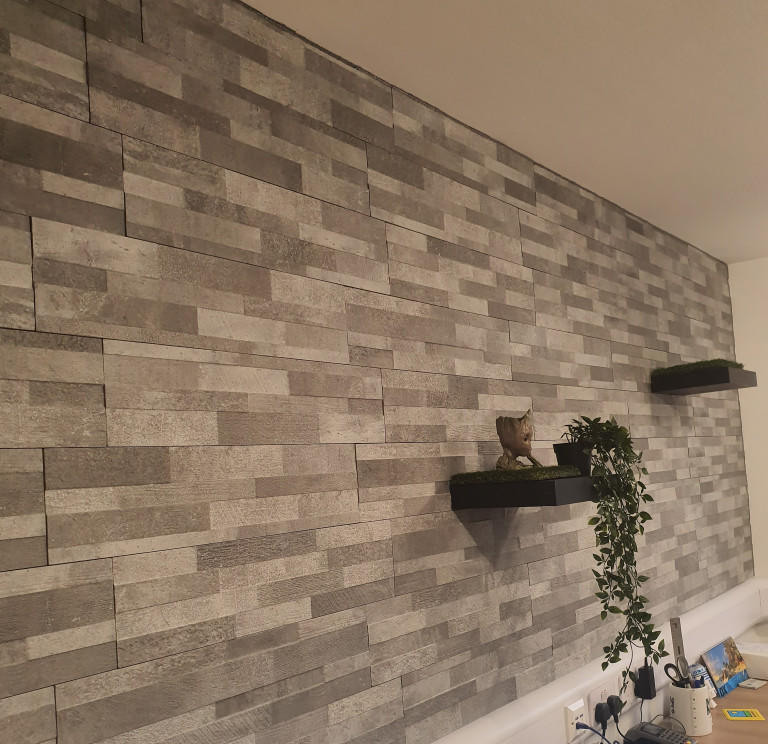
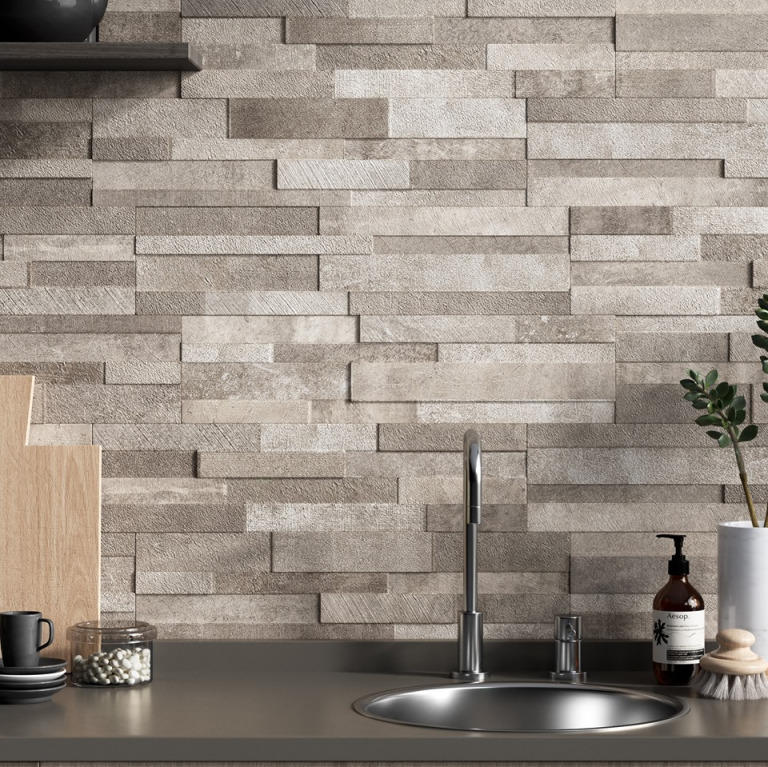
What is great about this walling range is that it features a stunning 3D effect and can be used internally or externally. It is great for use in the home to create a beautiful feature wall, but also has a professional look to it, making it a great addition to a bar, a reception or a showroom. Each tile varies in thickness between 7mm and 11mm, giving a varied 3D effect across your wall.
If, like us, you have fallen in love with this 3D walling and are wondering how to lay it, look no further! This article gives you a basic idea of the best way to lay it, indoors or out, and the best equipment to use.
What you will need:
- 3D Volcano Porcelain Walling
- Tile adhesive
- Porcelain tile cutter
- Trowel
- Tape measure
Step 1
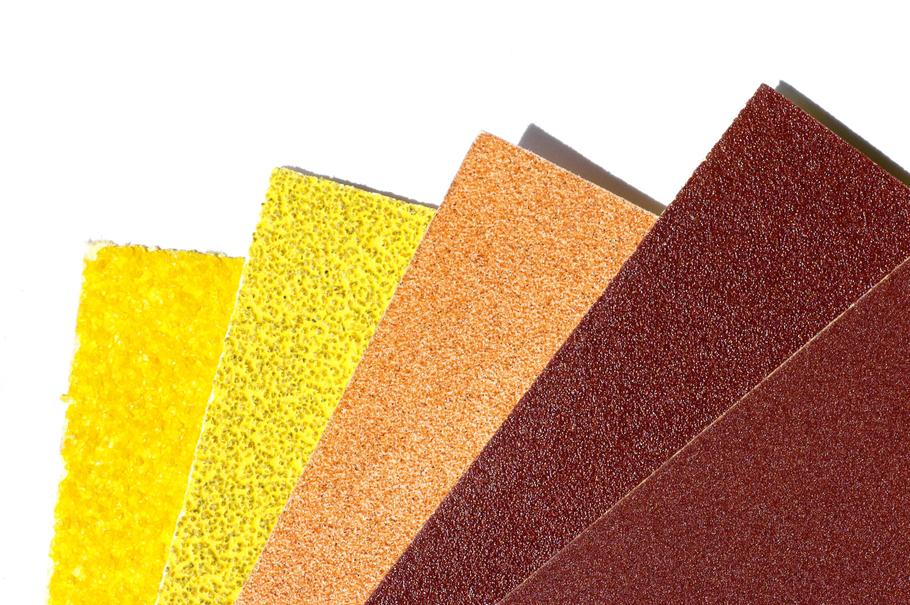
It is a good idea to check and prepare the wall you are laying this walling on. Ensure there are no loose bits of debris on the wall and that the paint is not flaking. If the paint seems fairly flaky, you can use sandpaper to ensure the surface is ready for the tile adhesive.
Step 2
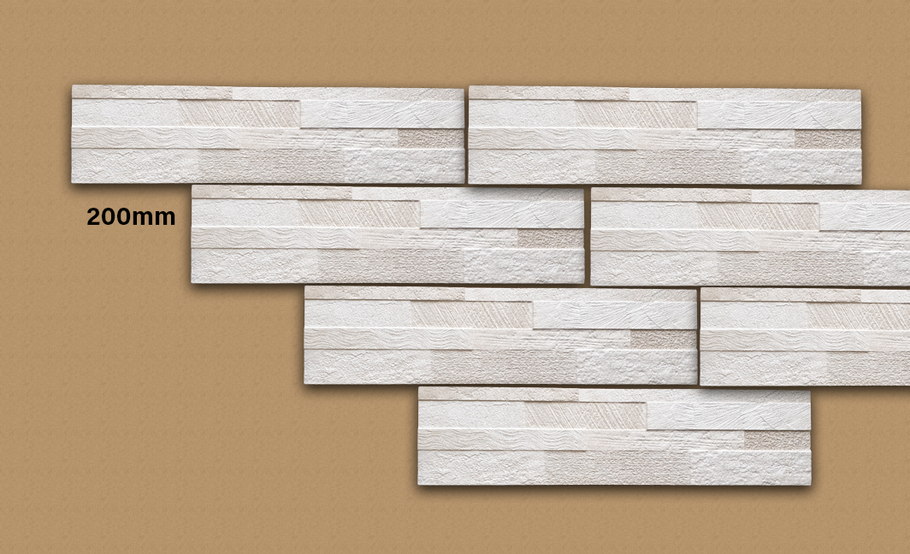
Roughly lay out some of your tiles on the floor to get an idea of how you want them to look. There is no 'right' way up for each tile, but they are designed to be butt jointed and staggered at a third between each other (see picture above). Use your tape measure to measure out a third. The length of the tile is approximately 600mm, so measure 200mm along the tile above.
Step 3
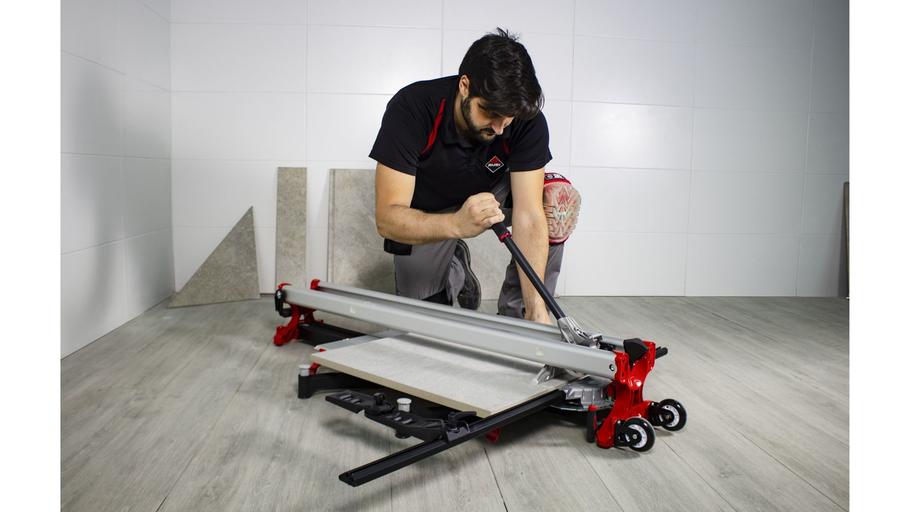
As you will have staggered the tiles by around 30%, you will need to cut down an excess on some tiles to allow for this. Get a professional to cut these tiles, wearing safety gloves and goggles for protection.

Step 4
Using your trowel, spread your tile adhesive across a small section, applying it at a 45 degree angle to ensure a thick layer is spread without excess coming off. You will need to work fairly quickly to avoid the adhesive drying out.
"There's no need to grout in between these tiles as the seamless finish is created when they are tightly jointed together." - Charlie Says
Step 5
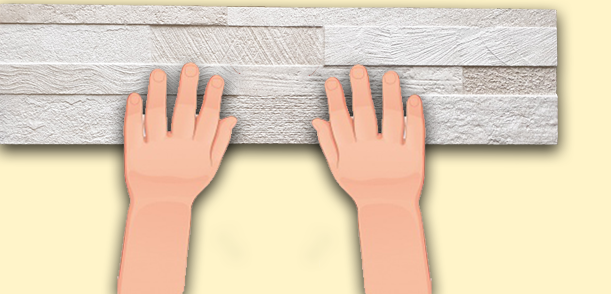
Firmly press down each individual tile, twisting it slightly so it forms a strong bond with the wall. Once you feel confident the tile has bonded, repeat the process, remembering to measure along each tile as you go.
Step 6
Step back and admire your wall! You should have a fairly seamless finish, with minimal lines in between. The 3D effect is sure to attract attention and beautifully complement your indoor or outdoor space.
