5 Excellent Ways To Use Rockery In Your Garden
If you want to create an oasis in your back garden with lots of texture and pops of colour, then we have just the thing for you.
We have created a handy guide, filled with ideas on how to use rockery in unique and innovative ways to make your garden seem like a zen paradise.

Rock pond
If you want to add more tranquillity and want to have more wildlife in your back garden, a simple solution is to create a small rock pond! Creating a small rock pond is achievable even for a newbie DIY-er. If you think this is a project you want to take on, we have written a simple guide to get you going and give you a basic idea of what to expect.
- The first step is to look through and analyse your garden and find the spot that you think will be best for a pond. Depending on the size of your garden we would suggest that you shouldn’t make the pond too large so it doesn’t take over the entire space.
- Once you have chosen your perfect spot, mark out the shape you want your pond to be, you can even consider digging out multiple layers to create a tiered effect if that is something you like the look of. Make sure to dig deep enough for a liner to fit comfortably.
- Once you have dug to your desired depth and shape, very carefully lay down the liner. Please be careful that you do not rip the liner during this process – take care when laying it down. Make sure you have enough so it covers the entire depth of your pond.
- Once the liner has been laid down, start securing it down using shingle. By laying down the shingle you are doing 2 things: Firstly, the weight of the shingle will hold the lining down so it doesn’t flail about. Secondly, because the living will now be weighed down, you will be able to see the dimensions and curves of your pond more clearly. We would also recommend adding extra layering and padding with the liner for extra security because we REALLY do not want the lining to get any sort of damage.
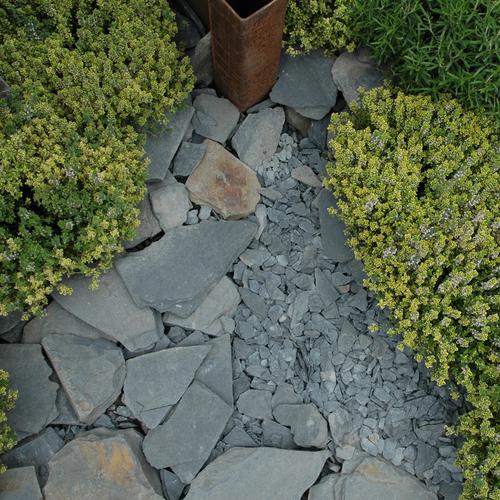
- Once the lining is secure, you pretty much have free reign on what kind of rockery you want inside the pond, you can go with smaller cobbles and chippings or you can go with slates and rockery for some added dimension and texture. As we mentioned earlier, when digging out your initial shape it is possible to create a tiered effect, and we think if you do go with that design, you will have more space and surface area to add even more rockery to create a one-of-a-kind look.
- Once you have decorated the inside of your pond, it is time to focus on the border. Using our rockery, paddlestones, cobbles and any type of stone your heart desired, create a solid and attractive border around your pond to make it look seamless. A great idea would be to use the same-coloured rockery around the border as what is already in your garden to create a seamless and natural look.
- Finally, it is time to add water, and you’re done!

Centrepiece
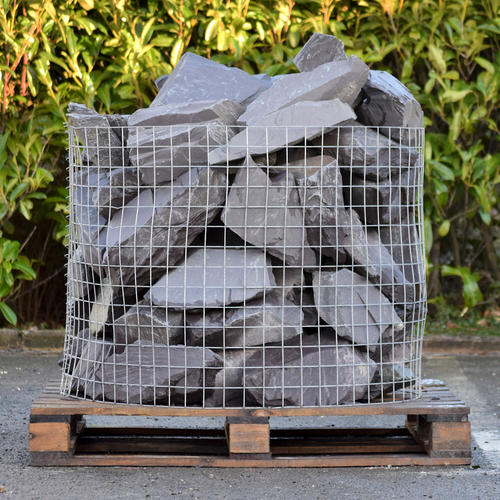
Our rockery is an easy and affordable way to create effective and eye-catching centrepieces in your garden that will be aesthetically pleasing and also seamlessly fit in with the nature in your garden. You can use sleepers or bricks to create an initial shape and order that you can then fill with paddlestones, wood chips, chippings or shingle which then you can then top with large rockeries in any fashion you like.

Stairs
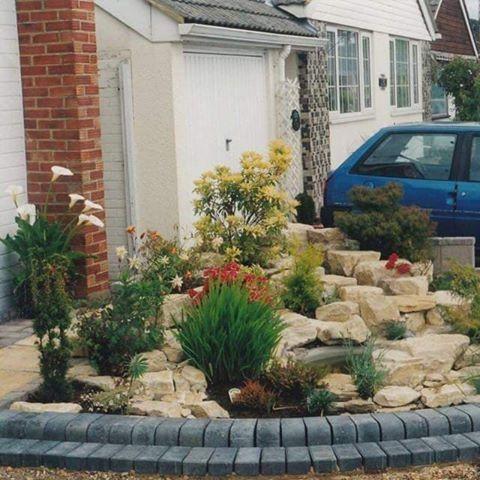
A very popular way to use rockery in a garden is to decorate the surrounding area of your garden stairs with rockery to create an extremely rustic and natural look.
If you have free real estate surrounding your stairs, instead of leaving them empty, why not consider adding some more colour and texture to your garden by surrounding the stairs with some rockery? There are many ways to can decorate using rockery, you can add pops of colour to the area if you go with a colourful choice, or if you want a more seamless look, you can choose a rockery that matches the colour of your stairs so it looks more like an extension. Whichever you decide to choose, the rockery will make your garden seem more tranquil and natural when compared to just having open space.

Walkway
In a similar fashion to the stairs, if you were looking to create a border surrounding your garden walkway, which can be created using paving slabs, sleepers or decking, our rockery and paddlestones are an excellent way to add more depth and colour to the area. A common way that walkways are installed is on grass, whereas if you were to use rockery, you would have more control over the colouring and the aesthetics of the walkway. One design example would be to use our plum slate rockery in tangent with plum slate to create a border for a walkway. We like this design in particular because of the colour coordination.

Spiral Herb Garden
If you want to create a unique herb garden for yourself that will not only give you delicious, fresh herbs but also look great while doing so?
We have created a small guide for you to read through that will give you a vague idea of what you will need to do in order to create your own spiral herb garden. Although it is not too complicated a process, some help may be required if you are new to DIY-ing
- First, start by looking through your garden and picking out the spot you want your herb spiral to be, please make sure that you have enough space to do this before you get started because you will need a certain amount of space for this project to be successful.
- Once you have decided where the spiral will go, we think it best to cover the area with Weed Check Fabric to ensure that no pesky weeds will take over your herb spiral.
- Use a marker to mark out the centre of the bed. Tie a string to the marker and proceed to map out the overall shape of the spiral. From that point, use a string or a measuring tape to design the spiral shape. Keep in mind that the spiral needs to be 1 – 1/5 feet wide for herbs to grow in them effectively.
- Once that has been completed, you can now start building the bed. Start creating the bed using rockery, stones, cobbles, bricks and timber along with the spiral map you laid out. Make sure to lay them out evenly and carefully to prevent collapse. If you want extra security, you can always secure the pieces with Cement. But make sure to leave it to cure completely before you add in the soil.
So as you go outwards towards each spiral, add a few pieces less of material so you will end up with the centre slightly elevated – creating a tiered effect.
- Finally, your herb spiral is ready to put soil and seeds into so you can start growing your herbs in no time.
We have curated a list of 5 beautiful ways to use rockery to make your garden look extra special!

